This Home Improvement project took a few weekends to get done, and I recorded a TON of footage for my YouTube video bellow. It took me a while to make this video so it’s finally here!
In this video I cover:
- How to repair and prep drywall, fix nail pop outs and cracks
- How to prime and paint your walls
- What primer and paint I used
- How to install door trim/casing
- How to install baseboard molding, and corners in particular
- How to caulk door casing and baseboard molding
I have enough footage on each of the above to do a detailed tutorial for each but the 10minute video will do for now. 😁
Some of the tools I used
- Painting: 3/8in and 1/5in Nap Roller, Kilz Original Low Odor Primer, Benjamin Moore Regal Select Eggshell (Edgecomb Grey color)
- Drywall: 6in Taping Knife, Regular drywall paper tape for cracks. Green All Purpose Drywall compound for cracks, Blue PLUS 3 for everything else. I used the Blue Plus 3 for everything.
- Baseboard and Trim Molding: 5.5″ and 3.5″ rectangular MDF Molding, 18Ga Brad Nail Gun with 2″ and 1″ nails, Miter Saw.
- Caulking: Paintable Acrylic between the Casing and baseboard, Paintable Silicone for the nail holes and miter joints.
- LOTS OF PAITIENCE!!!!
Some tips:
- Prime and paint before you put on the casing.
- Paint the casing before you mount it. Or at least do one coat. It’s a pain to paint casing on your knees and keeping paint off the floor and wall.
- For perfect casing and baseboard results. Fill the nail holes and miter gaps with silicone and do one coat of paint over. Alternatively, you can get a perfectly transition by using liquid wood, sanding it, and doing one coat over. I spot painted after caulking and it came out ok… 8/10.
Toughest part for me was the casing and baseboard. Lots of back and forth to the miter saw to get the angles just right! 😒 I made a bunch of mistakes until I got it the way I wanted it. It also didn’t help that the previous contractors did a bad job with the door jambs and drywall, things were crooked so I couldn’t get a tight miter joint. To get it right I had to do a compound miter cut… after spend a lot of time on getting it right, I opted to caulk forgo the compound miter and just caulk the gap!😂
There is no magic to it, there is no ultimate method, just practice!!! 😁

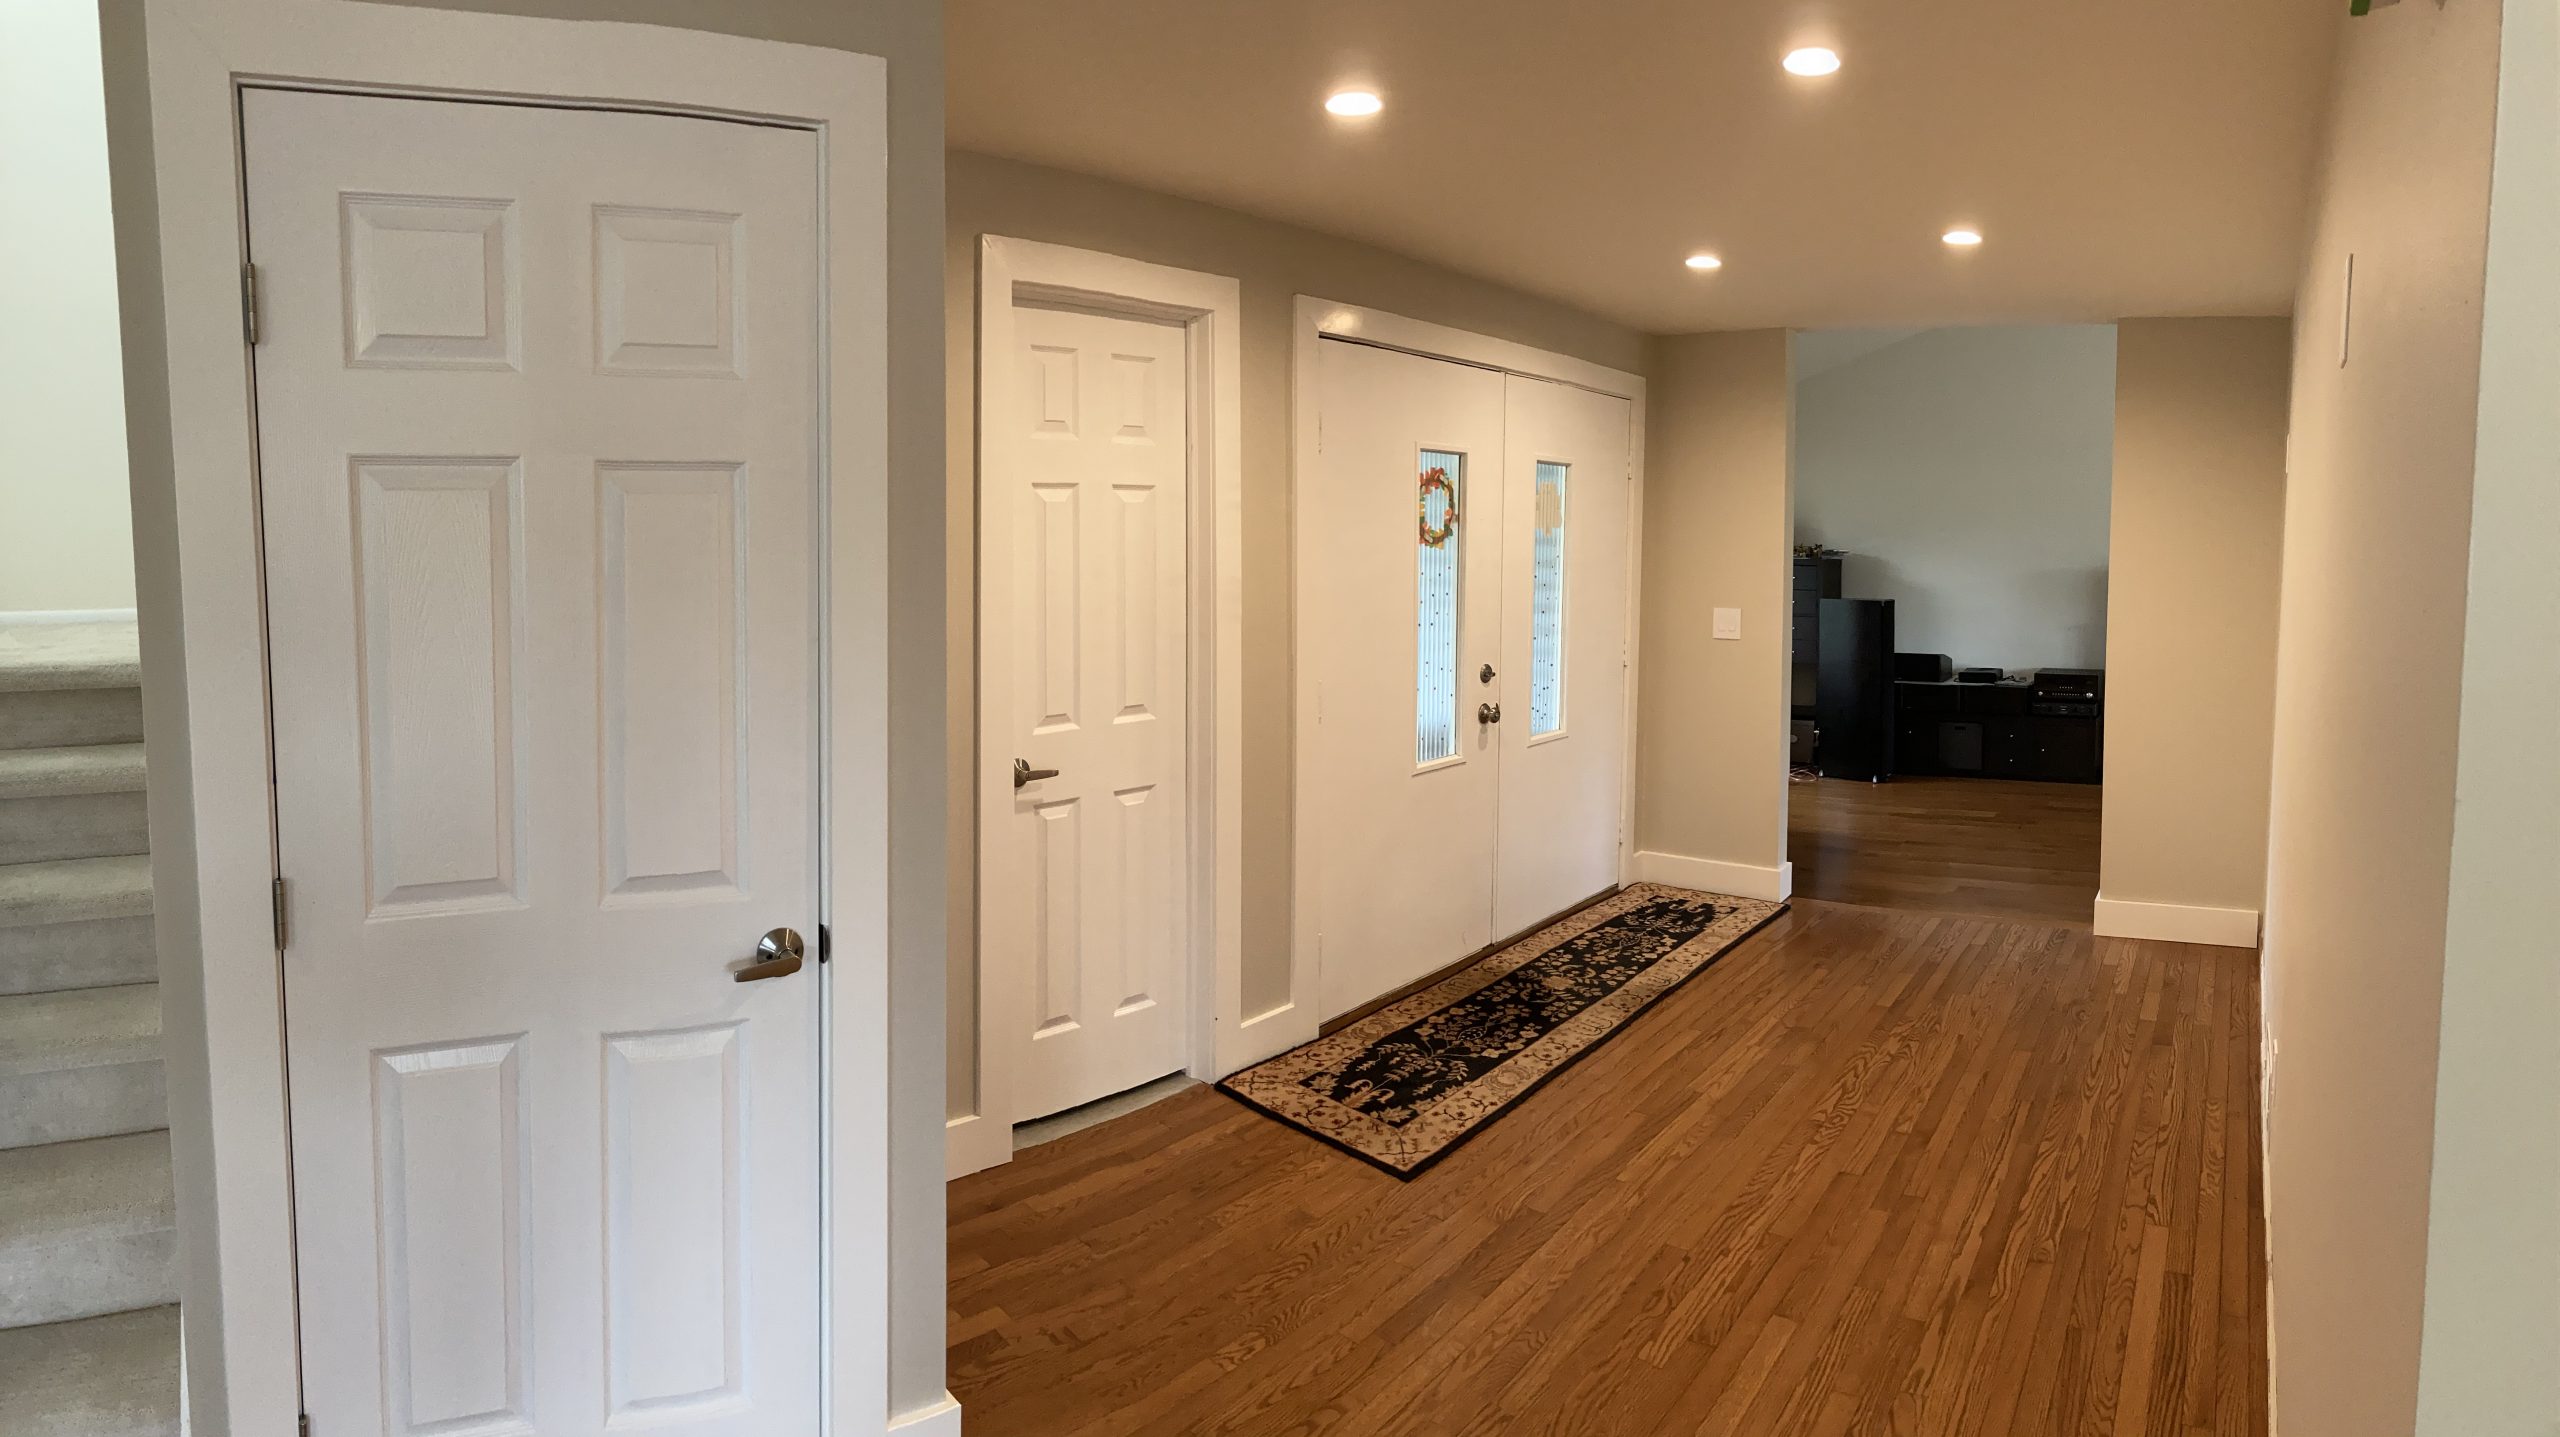
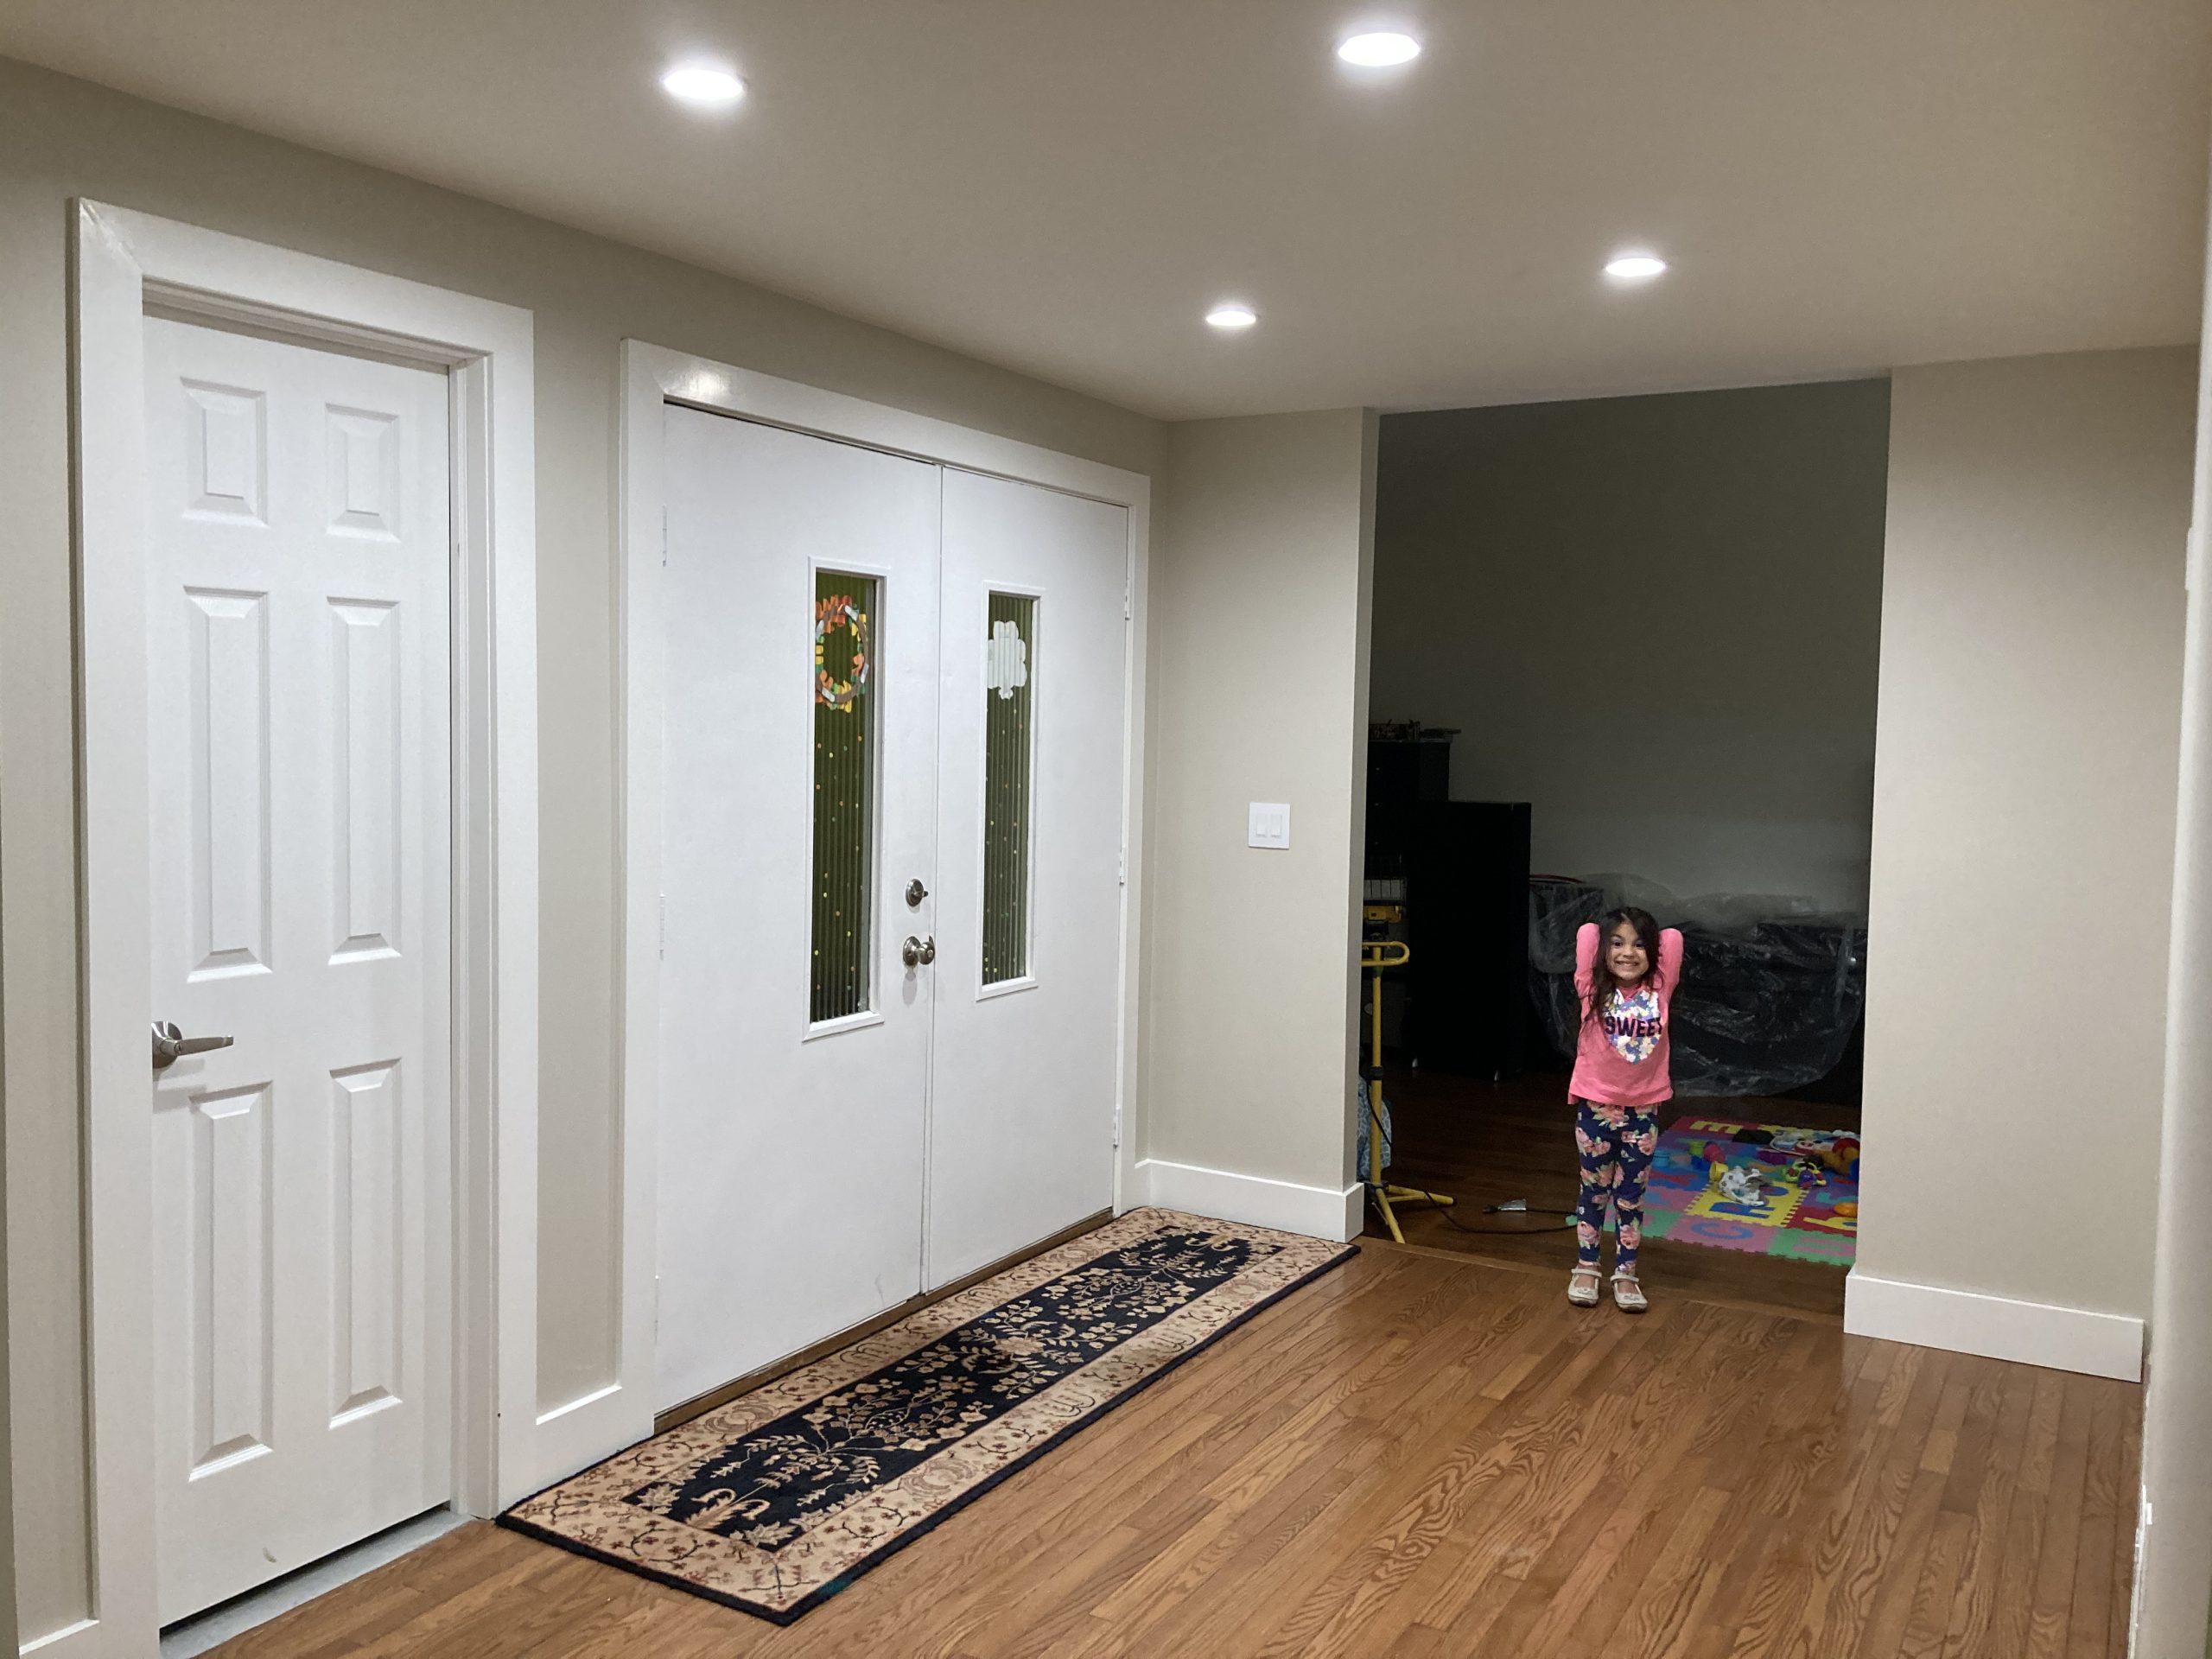
Final Result 
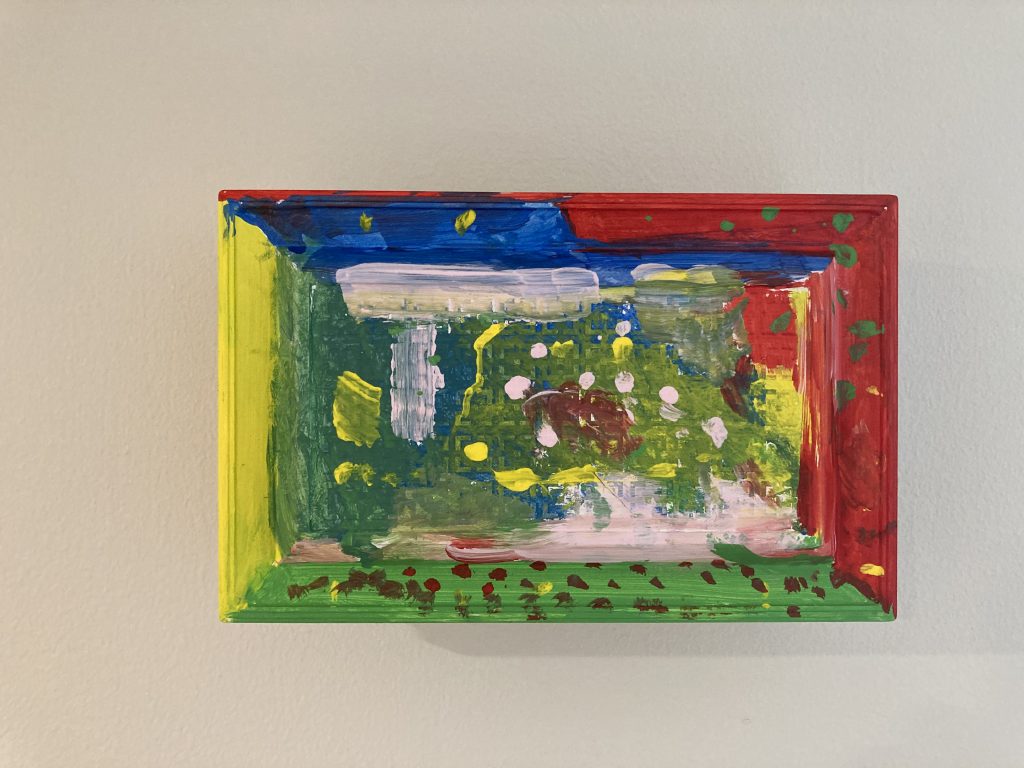
My Daughter’s Art!!! 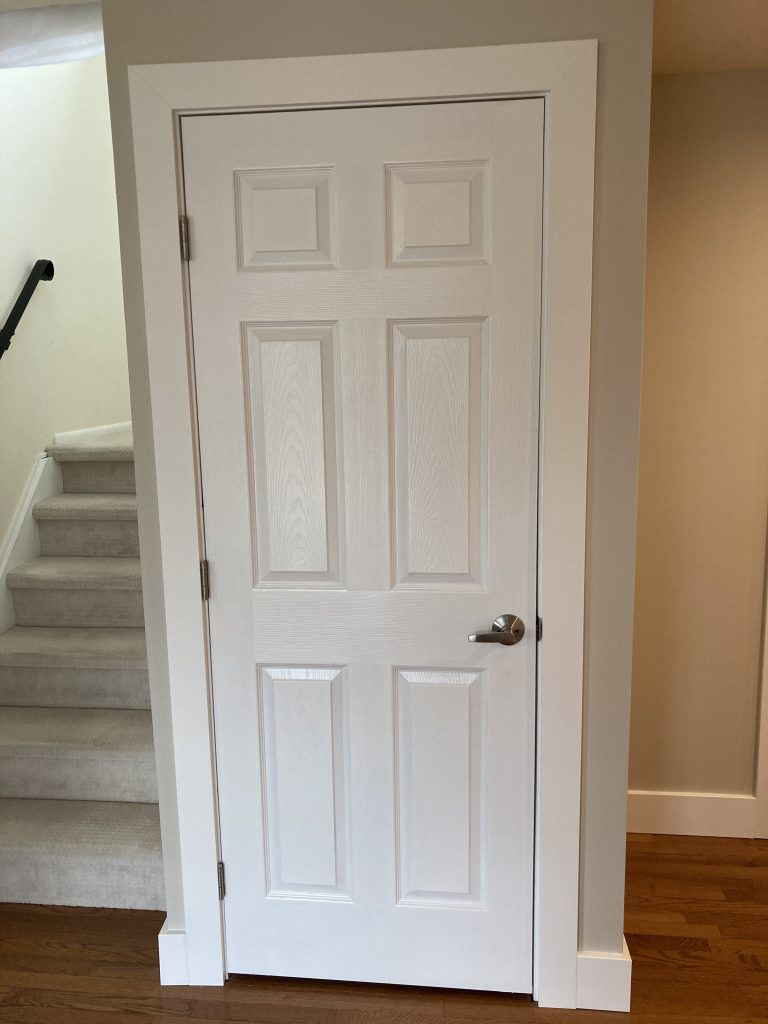
Casing 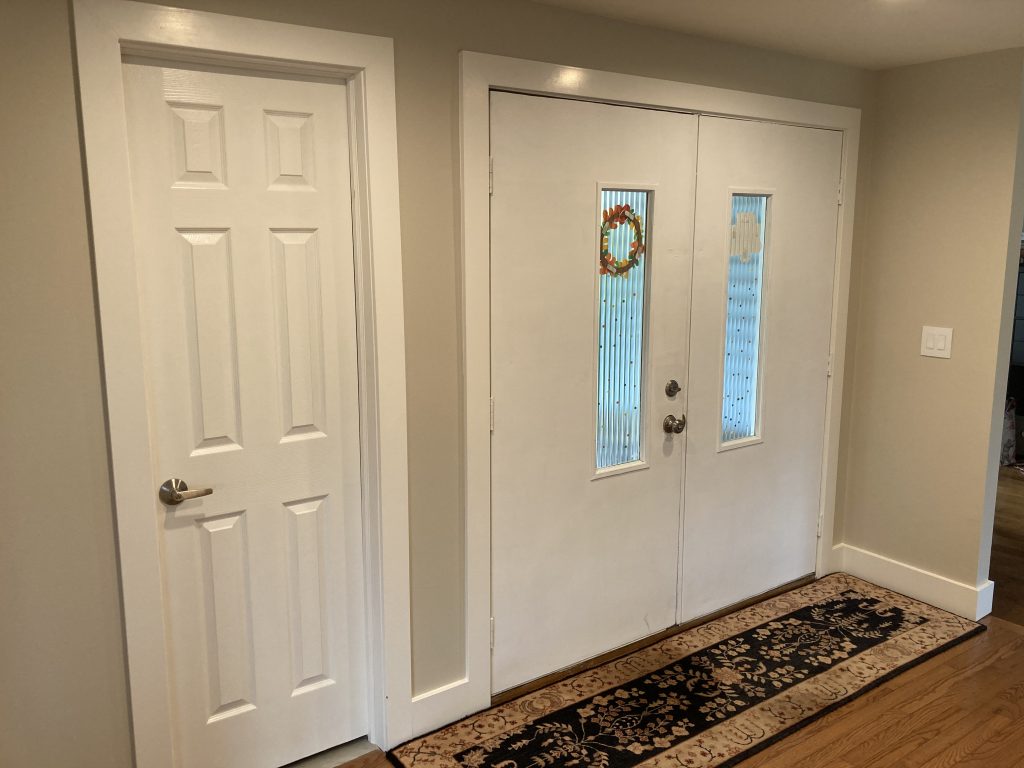
I hope you learned something new, or at least get a good feel how to do this “minor renovation”.

You must log in to post a comment.