This Home Improvement project took a few weekends to get done, and I recorded a TON of footage for my YouTube video bellow. It took me a while to make this video so it’s finally here!
In this video I cover:
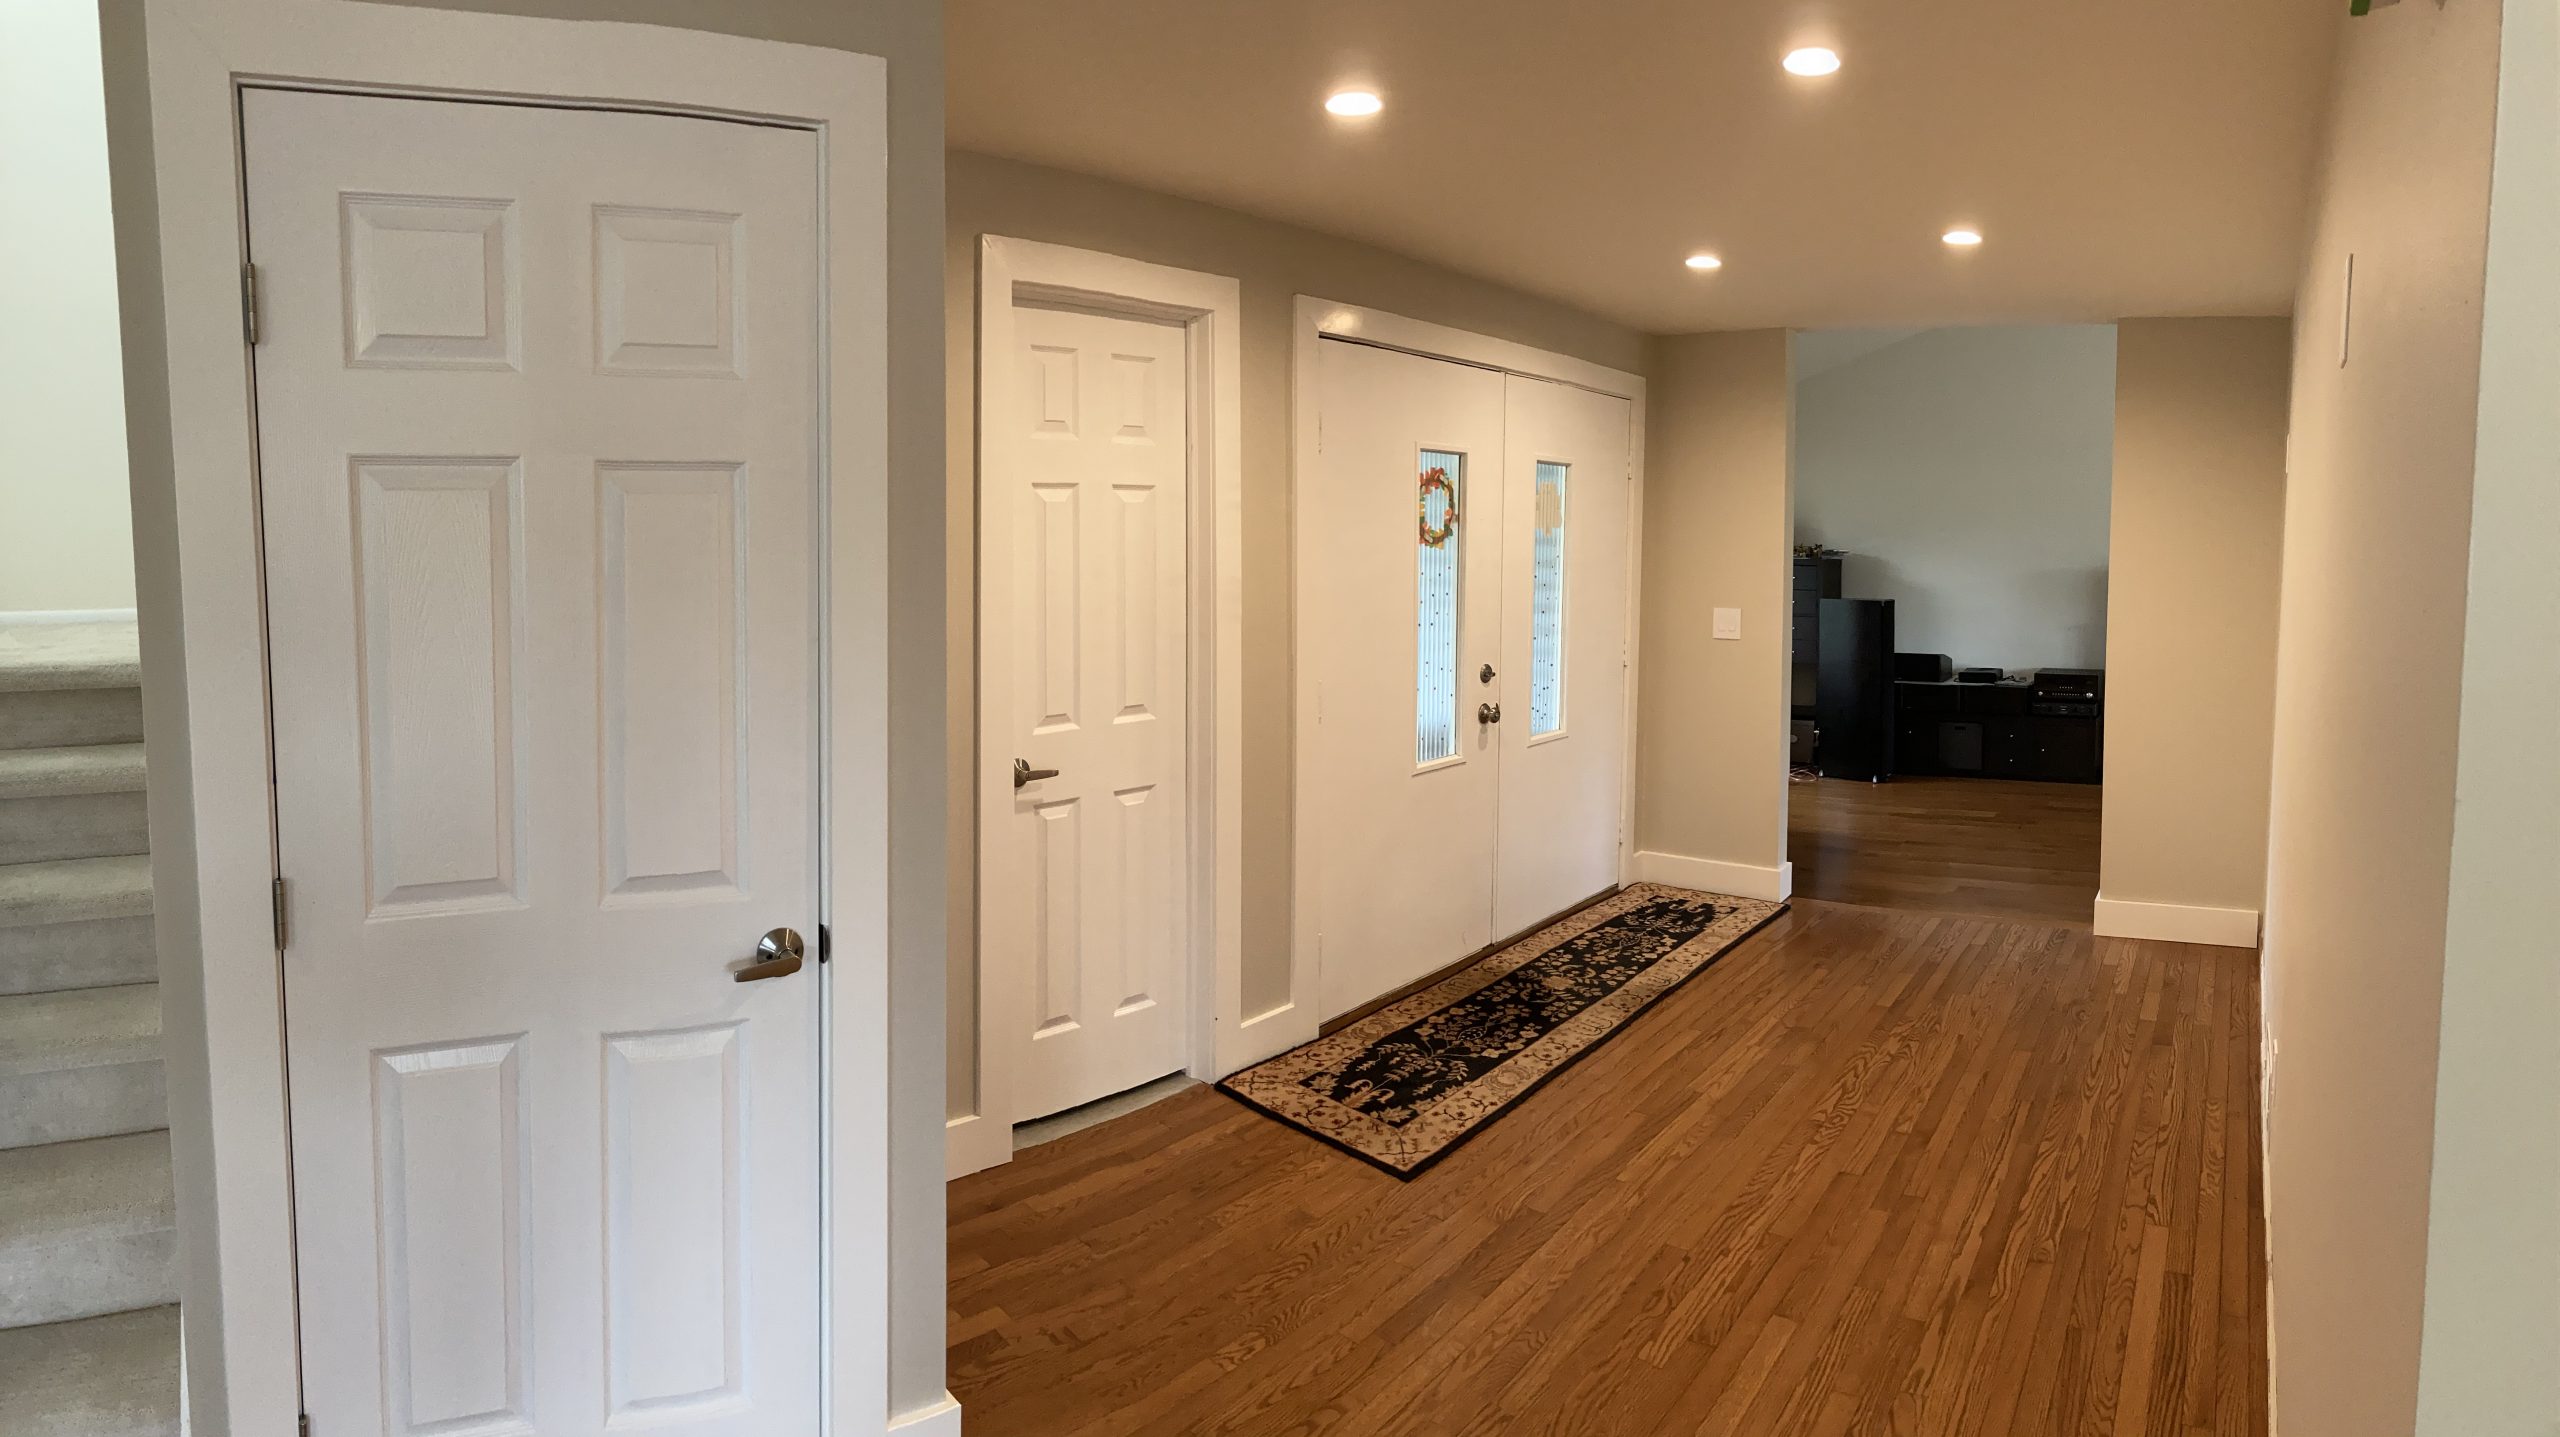
How to repair and prep drywall, fix nail pop outs and cracks
How to prime and paint your walls
What primer and paint I used
How to install door trim/casing
How to install baseboard molding, and corners in particular
How to caulk door casing and baseboard molding
I have enough footage on each of the above to do a detailed tutorial for each but the 10minute video will do for now. 😁
So after a few weekends of chore projects I decided to make something fun and creative. I didn’t want to spend time designing anything, and I just wanted to get into building ASAP!
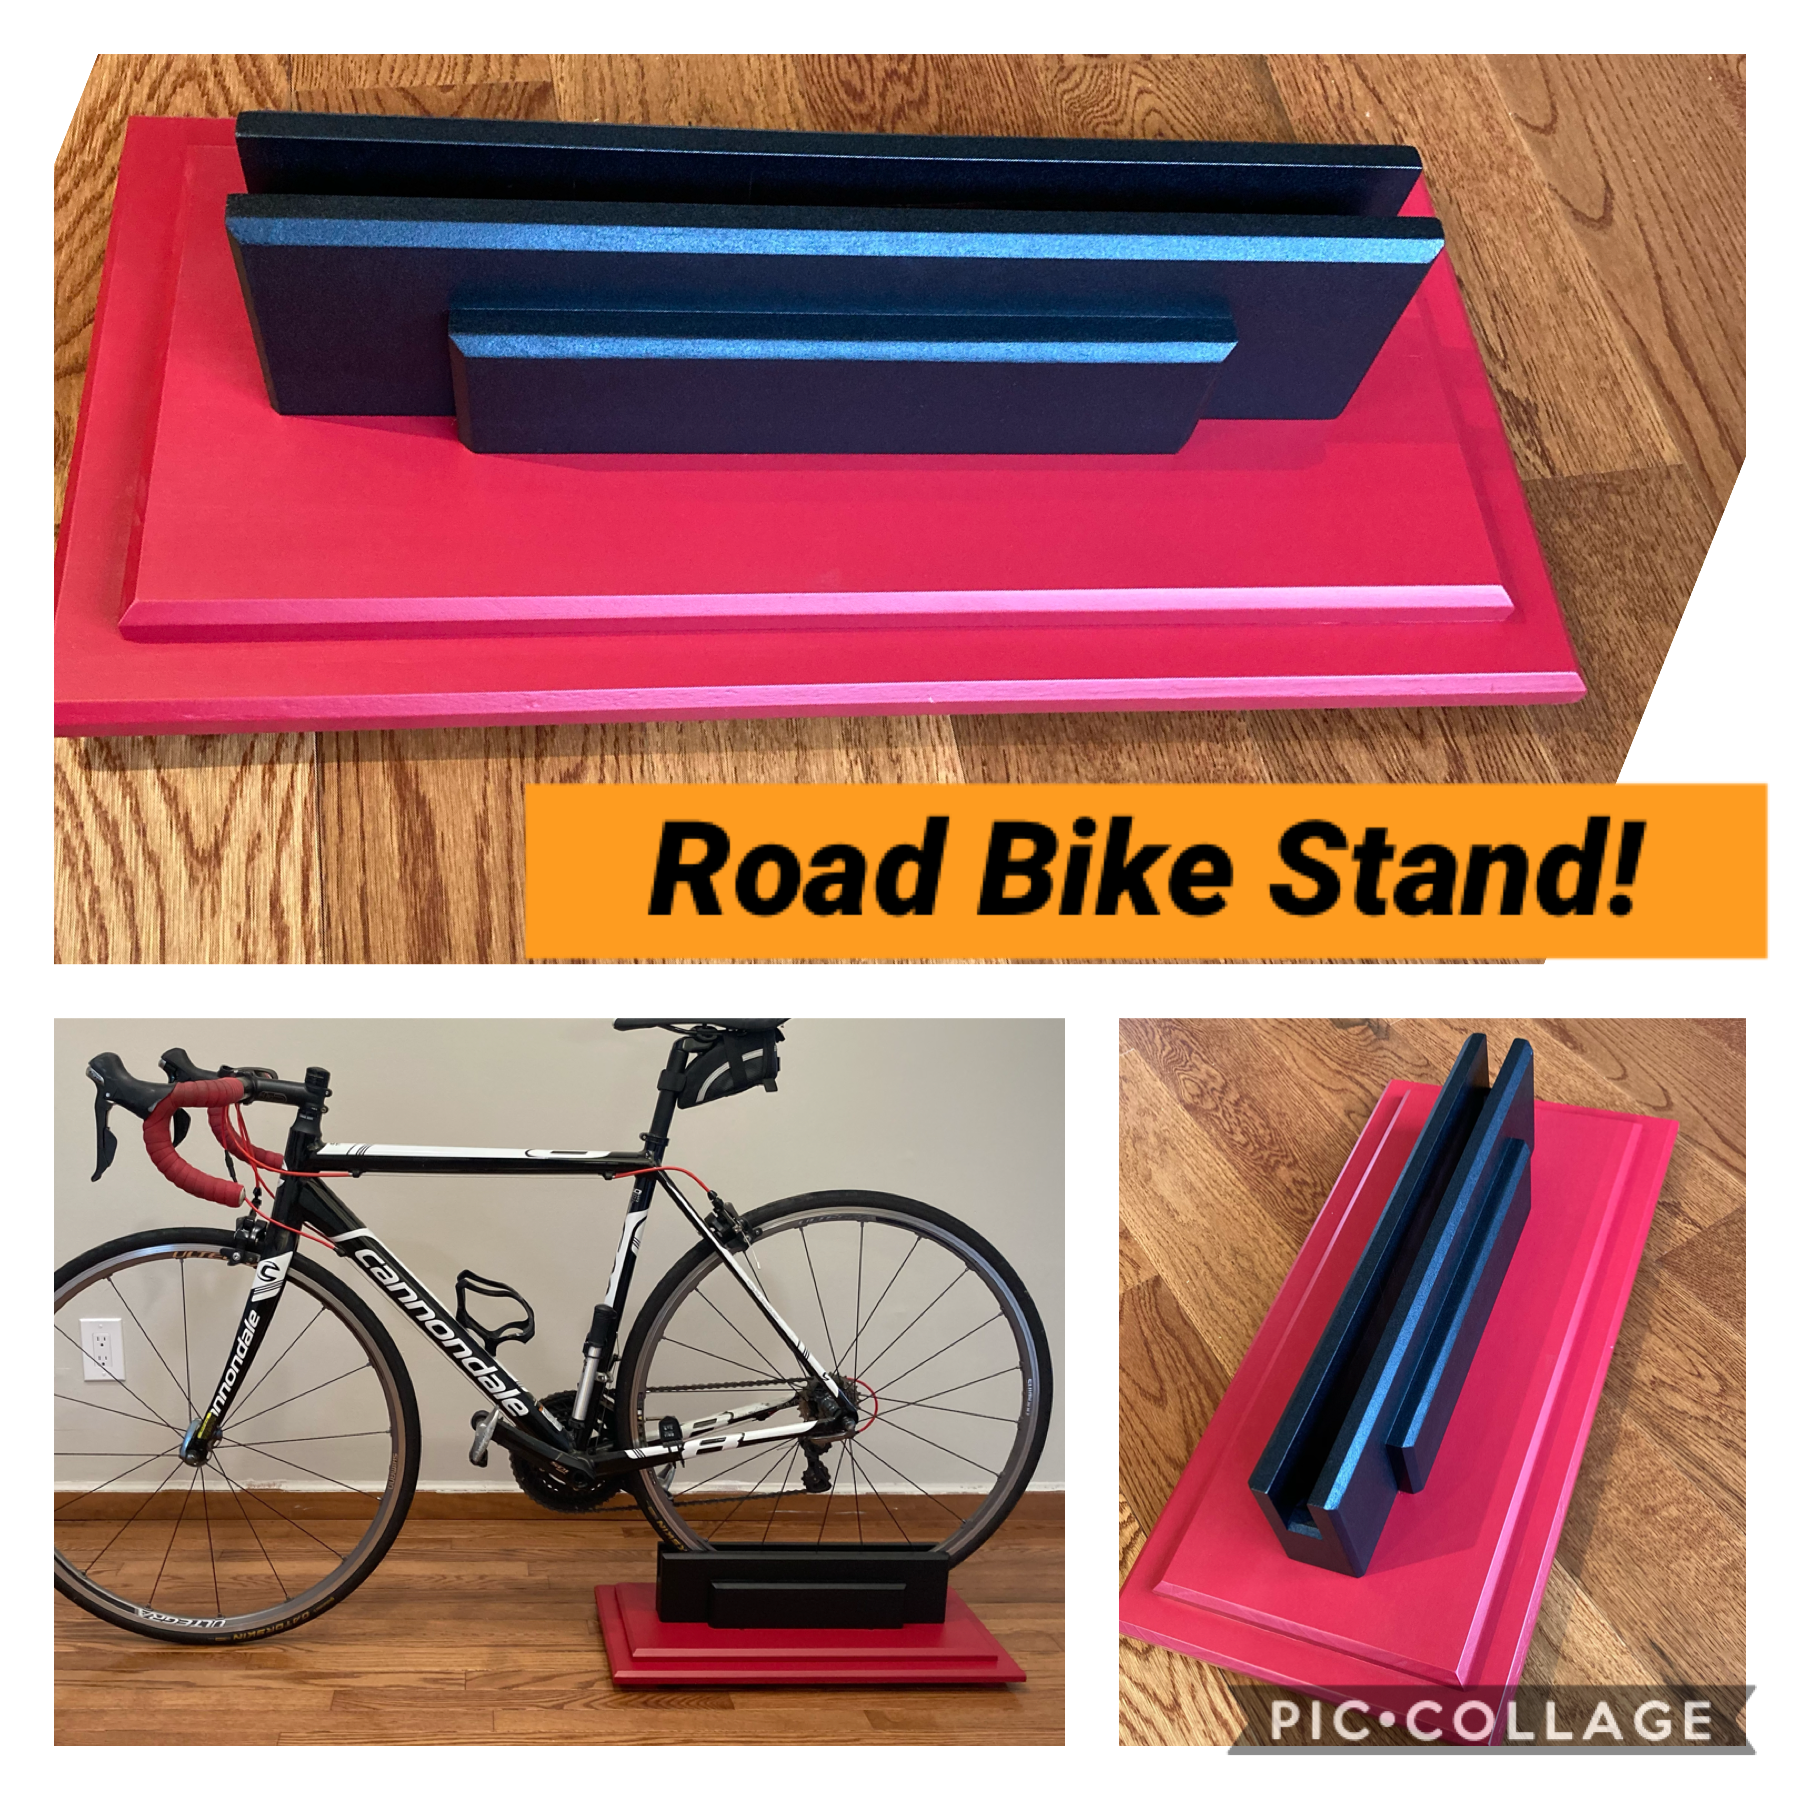
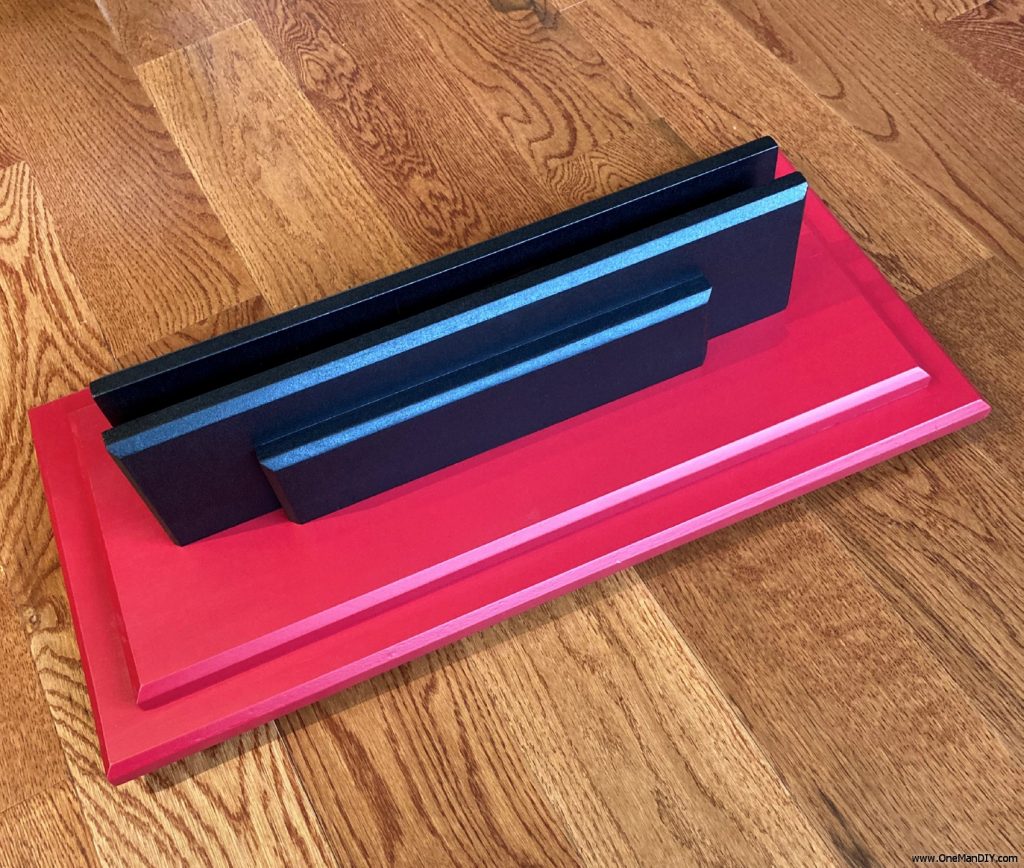
So here it is, (as my fiend called it) the “Trophy” road bike stand 🤣!
It definitely had the trophy/commemorative plaque kind of feel without the paintjob, but once I put some color on it, it looks pretty slick!
It took me about 2.5hours to make a functional bike stand, and 1/2 of that time was spent eyeballing dimensions and looking for my tools. Painting, also took about 2 hours, spread over a few days. So with a simple sketch, you can make yourself a functional stand in about an hour!👍
You can check out how I built the stand on my YouTube channel! I thought it would be an easy video to edit, as I decided not to explain any of the steps, but it turned out that it took me way longer to make the video then to make stand! I think I am getting better at editing, but I have to stop making 15 minute videos of me walking around, it’s a pain sift through and edit out the 30 seconds of actual content! I hope you enjoy!😁
So around Thanksgiving break I decided to get some much needed exercise and rake in my leaves. And while at it, why not winterize my sprinklers?
When we got the house last year, we also inherited a functional sprinkler system! Hooray, we can finally have a nice yard… only to discover how expensive it is to water :(. It cost me about $200 a month, just to water the front yard!!! After 3 months and $600 I decided that a perfect yard is not all that important to me :D, and that I just need to maintain it at a respectable level. Perhaps a Well Pump would make much more sense in the future.
Regardless if I decide to get that lush green or just keep it neat, I need to make sure the sprinkler system is functional! (even in the back yard)
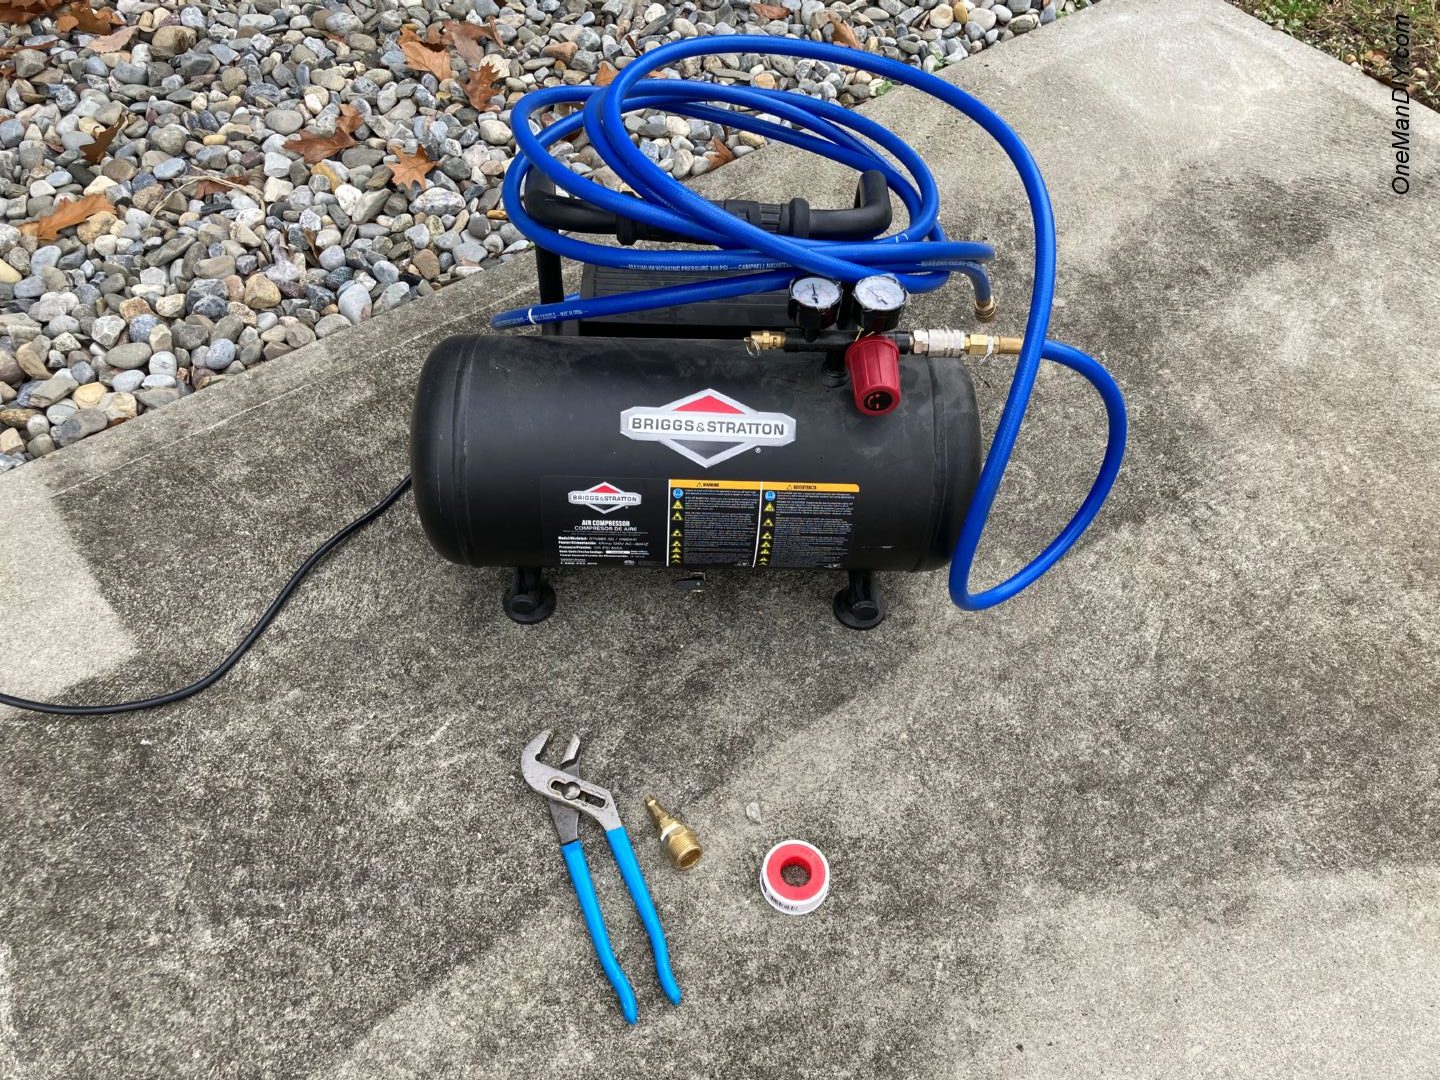
Where I live there is a chance that we get a nasty freezing winter, causing my sprinklers pipes to burst. If the weather holds below freezing for several days AND your sprinkler system is full of water, there is a good chance that the water will freeze, expand, and burst the sprinkler pipes.
To avoid that repair project (and save some $$$) I did some research and figured out how to do it myself! Its actually pretty simple, and once you do it the first time, you are good to go for many years to come!
Sprinkler Winterization/blowout will cost you anywhere between $50 and $250, with an average around $80.
Naturally I decided to make a “quick video” about it and show you how 🙂